Installation - Door Defender V2.0 for Tesla Model 3/Y
Door Defender Parts Order
If you have previously ordered Door Defender and are missing individual parts, you can now order the parts individually.
※Limited to customers living in Japan
You can select Japanese subtitles from the YouTube gear icon.
Installation Video for Model 3

You can select Japanese subtitles from the YouTube gear icon.
Installation Video for Model 3
You can select Japanese subtitles from the YouTube gear icon.
Installation Video for Model Y

You can select Japanese subtitles from the YouTube gear icon.
Installation Video for Model Y
Installation
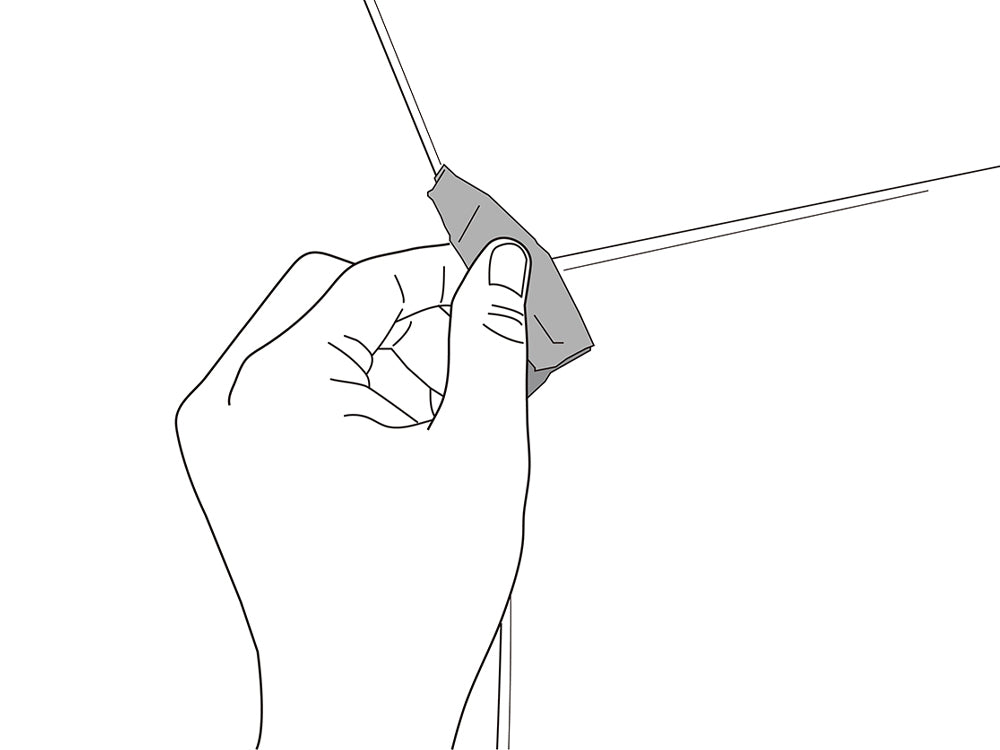
1. Use the “Wet” sheet from the included alcohol wipes to thoroughly clean and degrease both the back and front surfaces of the door edges. 2 sets are included, so use 1 set to clean two doors.Once degreasing is complete, remove the “Dry” sheet and wipe the degreased areas to dry them.
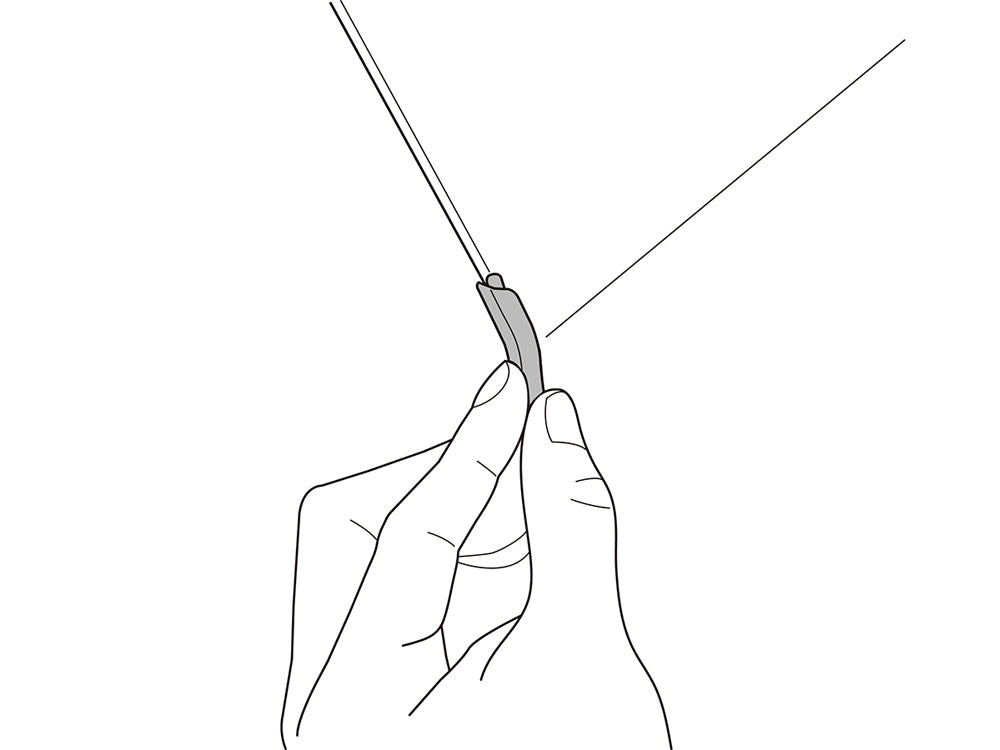
2. Remove the product from its packaging and align it with the corresponding location indicated on the package.
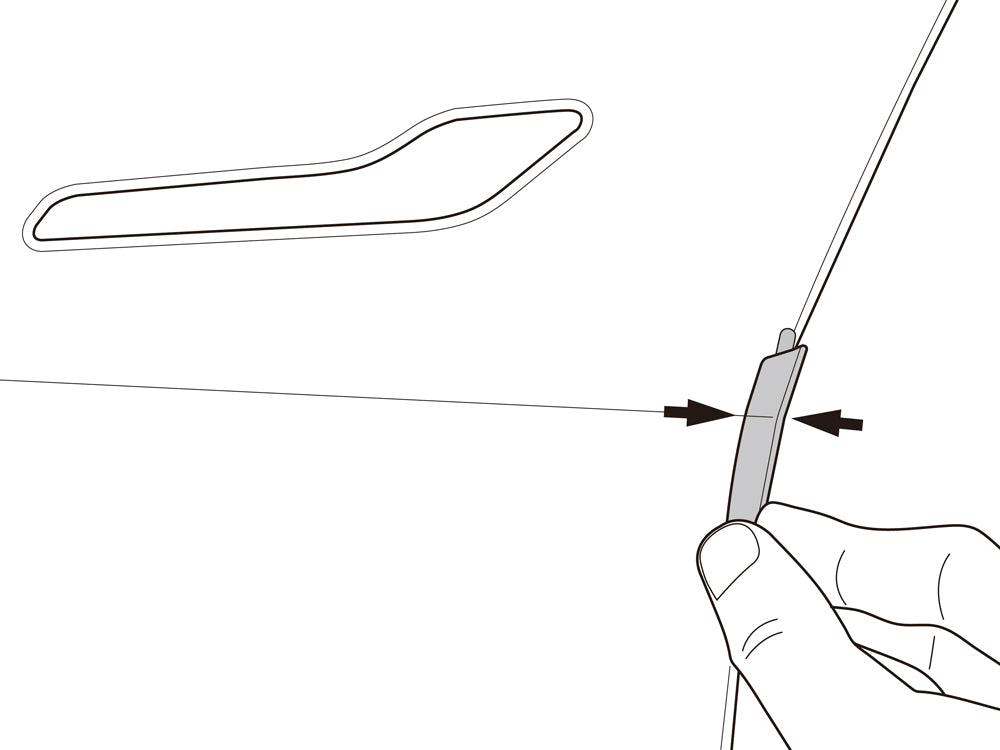
3. Align the silicone protrusions on 3R1 (3L1), R2 (L2), YR1 (YL1), and R4 (L4) with the lines on the vehicle body and install them.
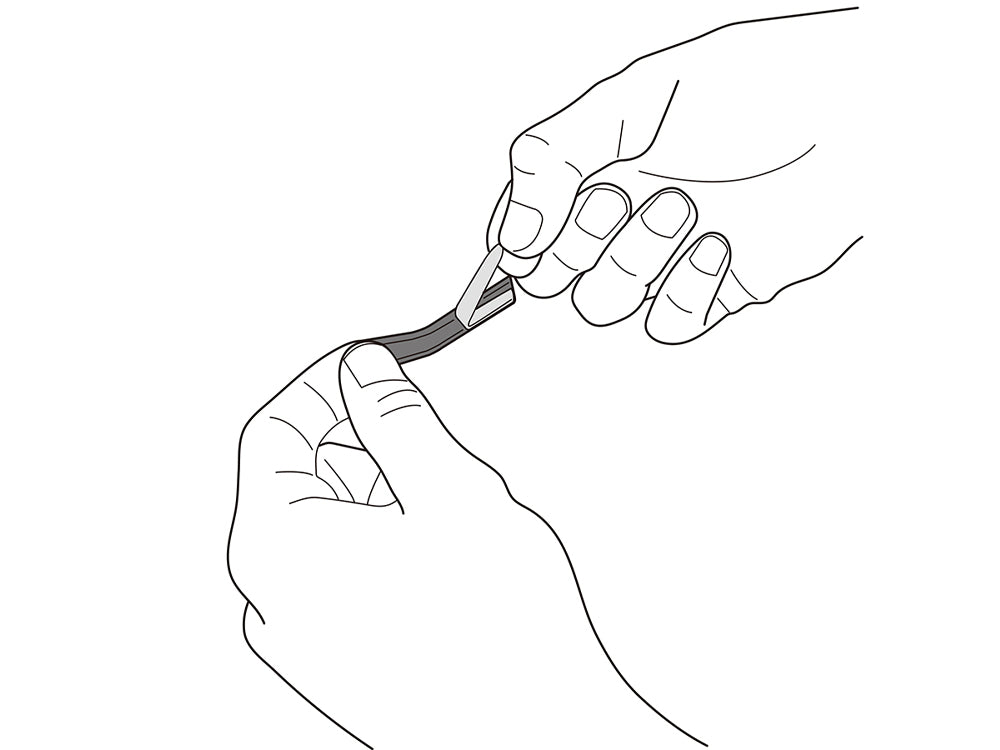
4. After confirming the installation position, remove the film from the double-sided tape on the back of the product. Apply the adhesive side of the double-sided tape to the outer surface of the door. Install it carefully to ensure it does not shift.
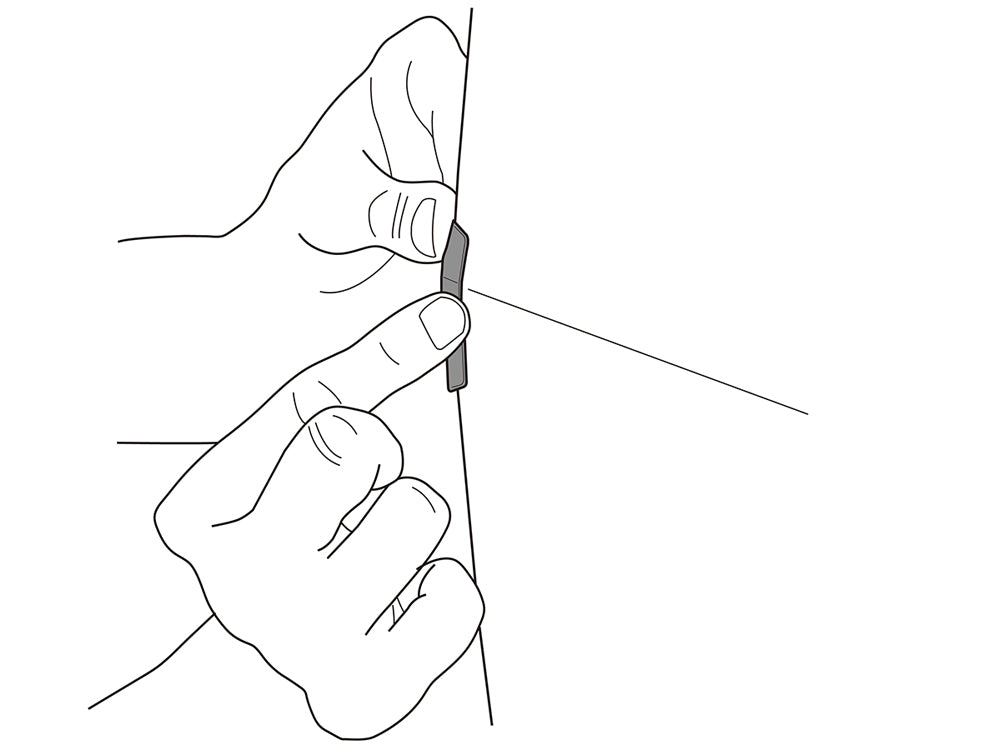
5. Install the product by inserting it into the edge of the door, ensuring it fits perfectly to the shape of the door. Once it is properly fitted into place, press firmly on the adhesive surface of the double-sided tape with your fingers for about 10 seconds.
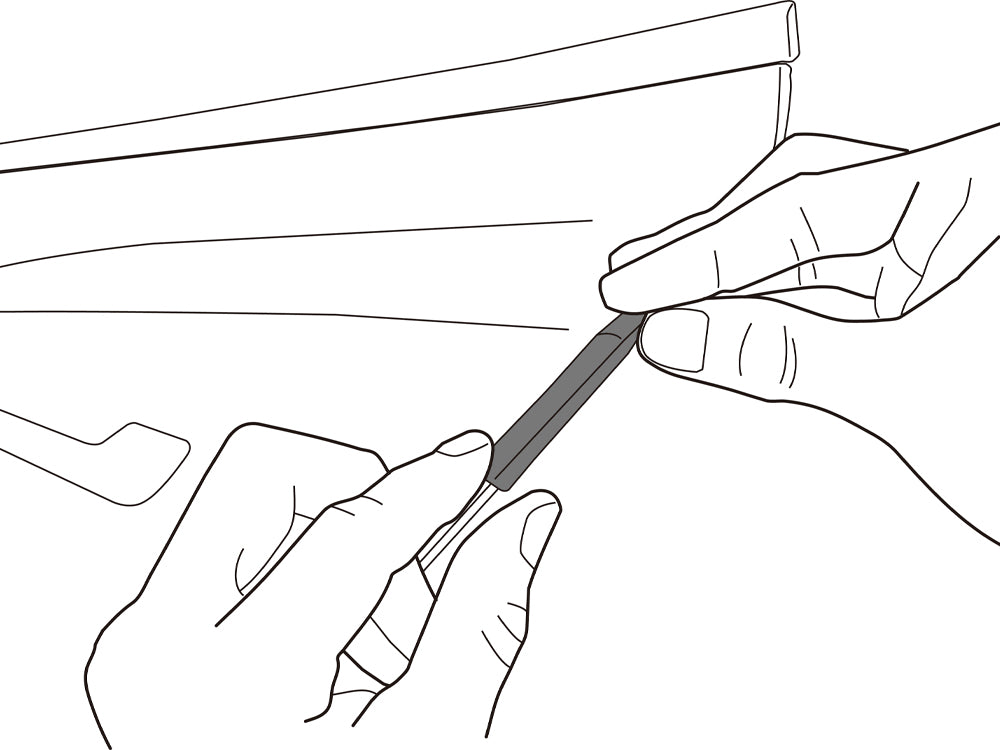
6. Repeat the same installation process for other locations.
*Please note that there are 4 dedicated parts for both Model 3 and Model Y, respectively. Parts with the prefix 3 or Y in the number are specific to each model. Please be careful not to make a mistake during installation.
※Please avoid installing in dark areas or under adverse weather conditions, as this may cause the product to come loose.
Door Defender Parts Order
If you have previously ordered Door Defender and are missing individual parts, you can now order the parts individually.
※Limited to customers living in Japan
